(632) 7527 2669 | +63 917-144-CMDA (2632) | +63 908 812 9503 inquiry@cmdacleaning.com

5 Reasons Why Choosing Cheap Disinfection Service Can Be Dangerous

5 Reasons Why Choosing Cheap Disinfection Service Can Be Dangerous

This pandemic has boosted the housekeeping and cleaning industry, with cleaning and disinfection service providers sprouting one after another. While it has given a healthy competition in this industry, and more options for consumers, there is a hidden danger in the emergence of cheap disinfection services. One that not all customers know about, or probably refuse to accept because of the cost, only to compromise the health and safety of their family, colleagues and employees.


5 Dangers of getting the wrong / low cost disinfection service

Need something cleaned?

LACK OF SKILLED WORKERS

 Prior to this pandemic, only a handful of companies and professionals carry out disinfection services. Training are only made by professionals who specialize in this field and would require intensive training and theoretical learning. Now, almost anyone can clean and disinfect but does not have to skills to properly and completely do it – let alone know what is the difference between disinfection and sterilization. 

Here at CMDA Cleaning Services, we are practicing and executing all the knowledge we have incurred in our Cleaning and Infection Control in General Facilities training under the Cleaning Masterclass from the United Kingdom (UK). We know what principles are needed to execute a proper cleaning and disinfection in any given area and situation.

CHEMICALS USED ARE NOT BACKED BY SCIENCE AND EXPERIENCE

Common chemical disinfectant resources found in social media and the internet are “minimum” standard for disinfection, such as bleach and chlorine, however, this is not the best available disinfectant available in the market. There are other disinfectants that have been proven to kill the coronavirus on surfaces even way back on the first SARS outbreak back in 2002 like Quaternary Ammonium Chloride chemicals. They are backed by years of studies and have demonstrated better efficiency compared to other compounds, and on the plus side, more friendly to those with respiratory problems.

CMDA Cleaning Services uses Lauryl Dimethyl Benzyl Ammonium Chloride for disinfection. A quaternary ammonium chloride compound that is FDA and US CDC approved, used by Hong Kong and China to fight both SARS-1 and SARS-2 (NCOV) and have successfully won.

METHOD AND EQUIPMENT USED ARE NOT EFFECTIVE

Not all disinfection methods are effective in killing the coronavirus, and not all disinfection method can protect you against future possible surface contamination. Most common methods are wiping down surfaces, spray, ultra low volume spray, and fumigation. The drawback against these methods are mainly because they work against physics (gravity and surface tension) and biology. These methods do not cover all surfaces that can be a potential point of contamination or worse, breeding ground of other organisms. 

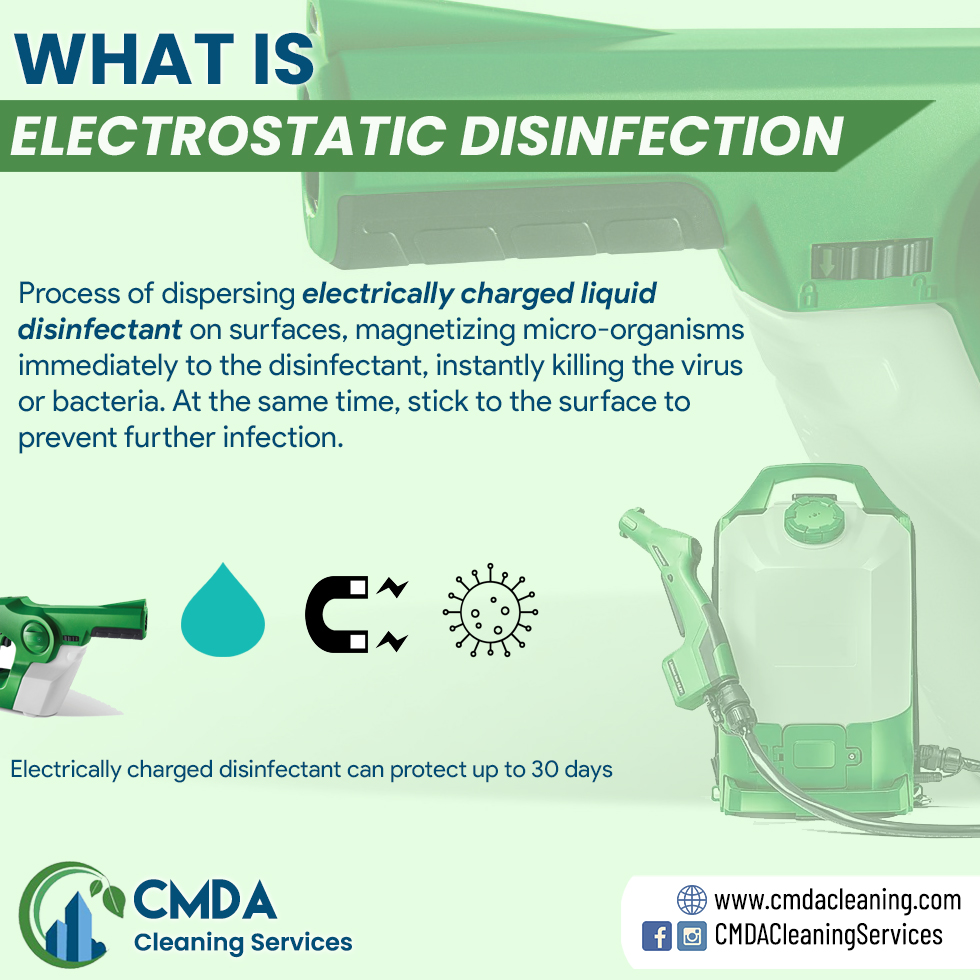
Though we also offer these methods, we highly recommend Electrostatic disinfection which is highly effective in covering a wider area. This type of disinfection electrically charge the disinfectant, turning it into a magnet and attaching immediately to surfaces, including viruses. It also keeps the surface moist to ensure that the chemical disinfectant attaches and interacts with the virus (which loves moisture).

“Studies have shown that COVID-19 reinfections (getting covid twice or more) were due to false sense of confidence due to built immunity, disregarding minimum safety protocols and poor disinfection”

CHEAP SERVICE MEANS CHEAP LABOR

It seems that history repeats itself, that everytime the world enters into a great depression, lay-offs and unemployment rise. With no jobs available, laid off workers will look for other jobs even if the salary is not enough, and in our current situation, this is no exception. Since the rise of disinfection service companies, competition is stiff, and the lowest bidder (rates) would almost always win. You may have disinfected your place but you might want to consider the lives of the people behind the service. Support good business practices and just labor. 

Here at CMDA, part of our COVID-19 response include keeping our employees’ wages as it is, provide them with a clean and humane place to live in, and to provide them with safe means of transportation to our clients and back to the office and staff house. Our success is partly due to them, and so we ensure that they are well commensurated beyond what the labor code provide.

DISINFECTION SERVICE NOT BACKED BY EXPERIENCE

Most cheap disinfection service providers have just opened shop this year, with zero experience and training. As the saying goes “you pay peanuts, you get monkeys”. 

CMDA Cleaning Services has been providing quality service for over 8 years and professionalism is one of our core values including continuous learning and training to ensure that the service we provide are up to date with the latest world class standards.

Do you want to learn more on how CMDA Cleaning Services can help you, your family, or your office fight against COVID-19? Send us an email at inquiry@cmdacleaning.com, or call/text us on any number mentioned above.

Let’s all be well and healthy, wear a face mask, wash our hands frequently, maintain a 1-2 meter physical distance to non-family members, and stay at home if we can. Stay covid-free!

Home Cleaning Tip: Bed Mattress Cleaning

Home Cleaning Tip: Bed Mattress Cleaning

Complement your home cleaning with these easy to follow bed mattress cleaning steps. Getting you mattress cleaned and smelling fresh again is quite challenging, especially if you don’t know the steps to do it and you don’t have the equipment to clean it. These steps can be easily followed and can be done right on top of your bed frame. Bed mattresses have been with us for 77,000 years already, and cleaning them has been a challenge since then.

What you need for your Bed Mattress Cleaning

  • Vacuum (with dryer)
  • Sponge (Scotchbrite)
  • Liquid detergent
  • Bleach / Color safe bleach

Need something cleaned?

Step 1: Remove Cover and dust

Remove your bed mattress’ cover, and anything that wraps around it until you are just left with the foam or the case. At this point, put your bed on its side and pat it to physically remove loose dirt and dust. This would also make the cleaning process a bit easier.

Step 2: Vacuum

Vacuum your bed to get the dirt stuck in the middle of the foam or spring. Some stains can already be removed from here already. Vacuum both sides and the lateral sides of your bed.


(It is easier to clean mattresses in its bare state with a lot of room around to work on)

Step 3: Soaping/Shampooing

Mix 5 mL of liquid detergent in 5 liter water. Mix it thoroughly until a lot of suds are produced. Using your sponge, use this mix to scrub your bed mattress. Make sure to scrub your whole bed.

Step 4: Stain removing

Mix a few drops of bleach in your liquid detergent mix and use it to scrub off stains that were not removed from the initial mix. Repeat this step if necessary.

Step 5: Drying

Once you are satisfied with the scrubbing, vacuum your bed to get the suds and water that seeped through the mattress. Once your bed feels like it is already drip dried, use your vacuum’s blower function and dry your mattress further.

(Some mattress stains are sometimes due to spilled liquid on the bed or the owner’s own sweat accumulating through the years)

It is highly suggested that you clean your mattress every 3 months to ensure that they stay fresh, clean and free of bed bugs. If you think cleaning your bed seem to be challenging, we do bed shampoo service for all sizes of beds and mattresses. Contact us on how we can have your bed mattress cleaning done today!

Do you want to learn more on how CMDA Cleaning Services can help you, your family, or your office fight against COVID-19? Send us an email at inquiry@cmdacleaning.com, or call/text us on any number mentioned above.

Let’s all be well and healthy, wear a face mask, wash our hands frequently, maintain a 1-2 meter physical distance to non-family members, and stay at home if we can. Stay covid-free!
Home Kitchen Cleaning

Home Kitchen Cleaning

Home kitchen cleaning can generally be easy for some, but quite challenging for a few, especially in some areas in the kitchen where molds and grimes are gathering. Sometimes it is also easier said than done when after a few days you would find dusts in places you rarely access in your kitchen. Check out the tips from the cleaning experts below:

What you will need for your home kitchen cleaning:

  • Kitchen towel/wash cloth
  • Liquid all-purpose cleaner
  • Bleach
  • Water
  • Sponge/scrubber (scotchbrite)
  • Rubber Gloves

Need something cleaned?

Preparing your tools and materials for kitchen cleaning:

You will be working a lot with your washcloth (basahan) and your all-purpose cleaner, so prepare a pail worth of mixed water and liquid all-purpose cleaner. Generally we recommend 5mL of all purpose cleaner for every gallon of water – not too concentrated so the surface will not be sticky after, not too dilluted that it won’t be strong enough to clean. You can use this mix for your regular home cleaning. Always remember to wash the wet washcloth after wiping each area to avoid messing other surfaces. Use 2 separate washclothes: one for wetting surfaces with your mix, and another for drying. At this point, start by placing kitchen towels or tissue paper on surfaces with thick grime/molds in your kitchen: tile trims, sealant of your kitchen sink, neck base of your kitchen faucet, kitchen tiles and chopping board. Pour enough concentrated bleach on them to make them moist and the tissue or kitchen towel is touching the surface more. Leave it to soak there for the meantime, and then you can start cleaning your kitchen.

1. Start from the top: Overhead cabinets/cupboards

To save time, and not go against the forces of gravity, start with your overhead cabinets. Bring out all its content and wipe the surfaces in it using a wet washcloth. Utilize a ladder of foot stool to reach high areas (and for your safety). Dry the surfaces with the dry washcloth and then wipe the contents before returning them back. Usually, range hoods or fume exhausts are located under cupboards. add a few drops of bleach in your mix to remove oil deposits under the range hoods.

Fun fact: Overhead cabinets were made to store plates, cups, spices and utensils. Due to hight limitations of most people, overhead cabinets became a storage for stuff they rarely use. Though nothing is wrong about that, but it would mean you would be spending some more time cleaning this part compared to other areas of your kitchen.


2. Kitchen walls

Using your wet washcloth, wipe the kitchen walls and tiles. If some parts are a bit sticky or slimy due to oil splatter or grime, add a few drops of bleach in your mix and use that to wipe those surfaces. It might be still early to remove the kitchen towels soaked with bleach at this point, so might need to leave that for a bit. Wipe them dry to prevent unsightly droplets from forming.

3. Oven/Gas Stove

This is a challenging surface to clean. For this part, add bleach in your mix, and use it to scrub the oven top, gas stove, stove grill and oven grill. If the carbon deposits seem to be difficult to remove, let your sponge absorb some of the bleach-cleaner mix and squeeze some on the deposits. Let them stay there and soak for a few minutes before trying to scrub them again. Scrub forcing these parts will scratch the surface and would leave them unsightly after cleaning, not to mention, very tiring for you to do. Wipe them dry to avoid rusting.

4. Refrigerator/Fridge

Similar to your overhead cabinets, bring out all of your fridge content before wiping the inside. Throw away leftover food that are spoiled already, or food that you have no plans of consuming (yes, we do have those in our fridge). Make sure to dry the surface to avoid unpleasant smell. Do the same steps on the outside surface of your fridge. For some refrigerator models, there is a water collection basin either at the bottom or at the back. Remove it and clean it using your bleach-cleaner mix, wipe it dry and put it back.

Fun fact: the odor coming from your fridge is not caused by spoiled food most of the time. Left over food that spilled into the collection tube, drain and basin are the usual cause of foul fridge odor. Turning off your fridge, defrosting and cleaning these areas will help remove the foul odor completely.

5. Kitchen table surface and counter tops

Using your sponge, scrub and wipe your kitchen table and counter top surfaces. You may also add bleach to disinfect this area.

Fun fact: Contrary to popular belief, the toilet is not the dirtiest place at home. The kitchen is the dirtiest, especially countertops, since a lot of people place grocery bags (that were at some point left on the floor) on top of kitchen counters. Not to mention the microbes left after processing or cutting meat, vegetables (sometimes still with soil particles), and other ingredients.

6. Sink Cabinet

Similar to your overhead cabinet and fridge, bring out the contents of your sink cabinet. Wipe the inside and dry. Wipe to contents before placing them back in. This is also a perfect time to check for tell tale signs of pests like cockroach or rat droppings. If you see any, we suggest that you put bait or any pest control measure you prefer.


7. Kitchen floor

The best way to clean the kitchen floor is by using a mop instead of washcloth. With your bleach-cleaner mix, pour some on the floor, especially where there are hard to clean/scrub spots. Let it soak for a few minutes, scrub, and then mop. Dry your floor as soon as you are satisfied with the cleaning already to avoid anyone from slipping.


8. Lastly – the Sink

Finally! We recommend you clean the sink last because cleaning it early on would mean cleaning it again and again all throughout the process since you will be washing you washcloth from time to time there. Remember the kitchen towel we soaked earlier (read the top again for the complete process), you can now remove them and see how easy to remove the grime and molds using your sponge. With your bleach-cleaner mix, wash, wipe and dry your kitchen sink. You can also now remove the kitchen towel soaked with bleach on the surfaces you placed them. Scrub a little and see that all the grime and molds are gone.

Bonus tips!

The key to a clean kitchen is to wiping and cleaning the mess right away, keeping surfaces dry and keeping a kitchen cleaning routine. Stains, molds and grimes develop due to neglect, so cleaning your kitchen after every use keeps them at bay. It may be a waste of a few minutes of your time but it will save you from stress and effort during a kitchen general cleaning. 

Kitchen cleaning can be easier if you avail of the services of a professional cleaning service company

Do you want to learn more on how CMDA Cleaning Services can help you, your family, or your office fight against COVID-19? Send us an email at inquiry@cmdacleaning.com, or call/text us on any number mentioned above.

Let’s all be well and healthy, wear a face mask, wash our hands frequently, maintain a 1-2 meter physical distance to non-family members, and stay at home if we can. Stay covid-free!
DIY: Clorox Disinfecting Wipes

DIY: Clorox Disinfecting Wipes

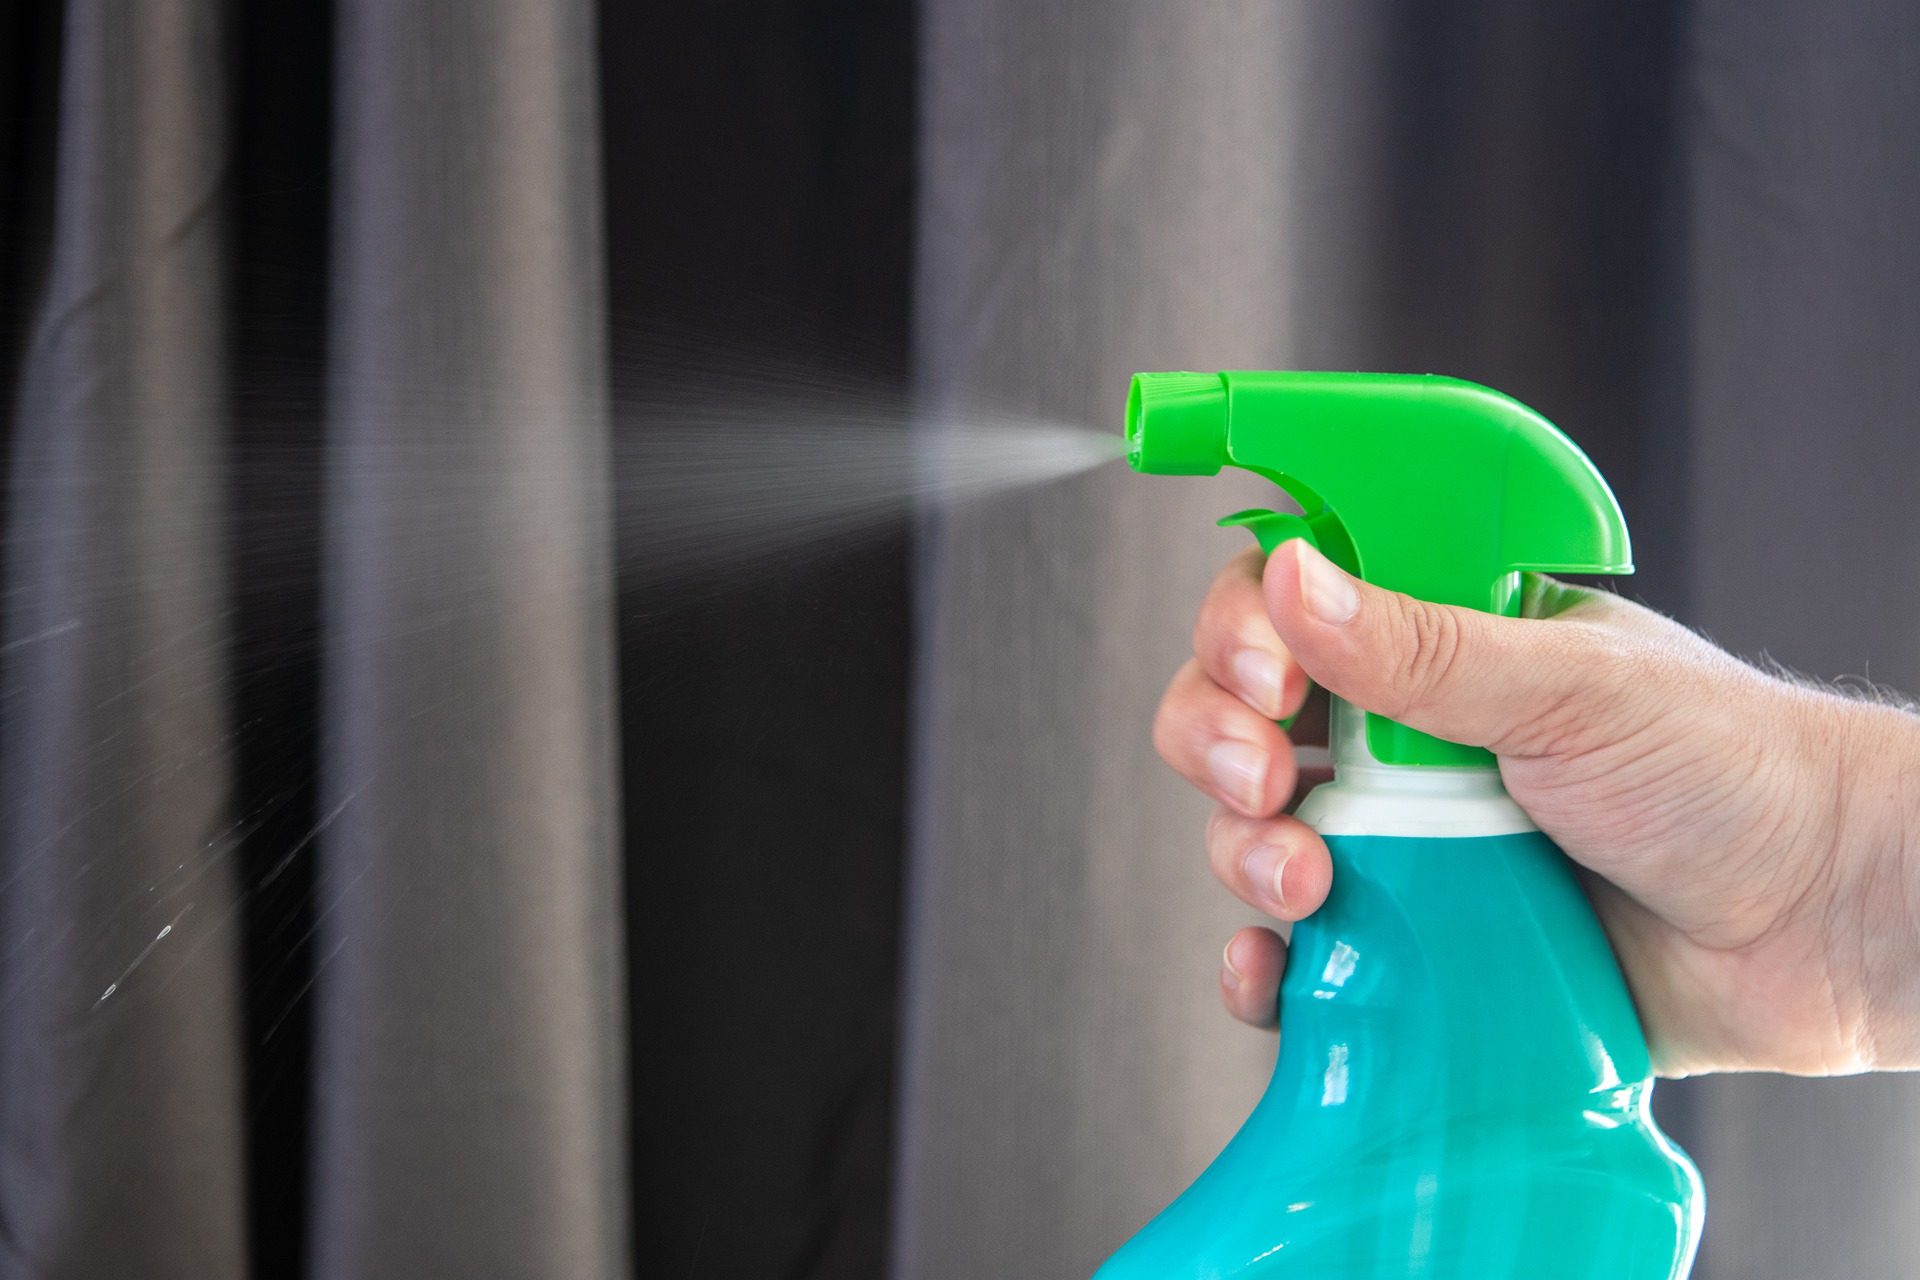
The Clorox company has already announced that there will be global shortage of Clorox Wipes until next year, prompting some consumers to DIY: Clorox disinfecting wipes. If you are one of those living in the area where there is little to no supply of the said wipes, or its alternatives, and plan to DIY the wipes yourself, check out our step-by-step guide below:

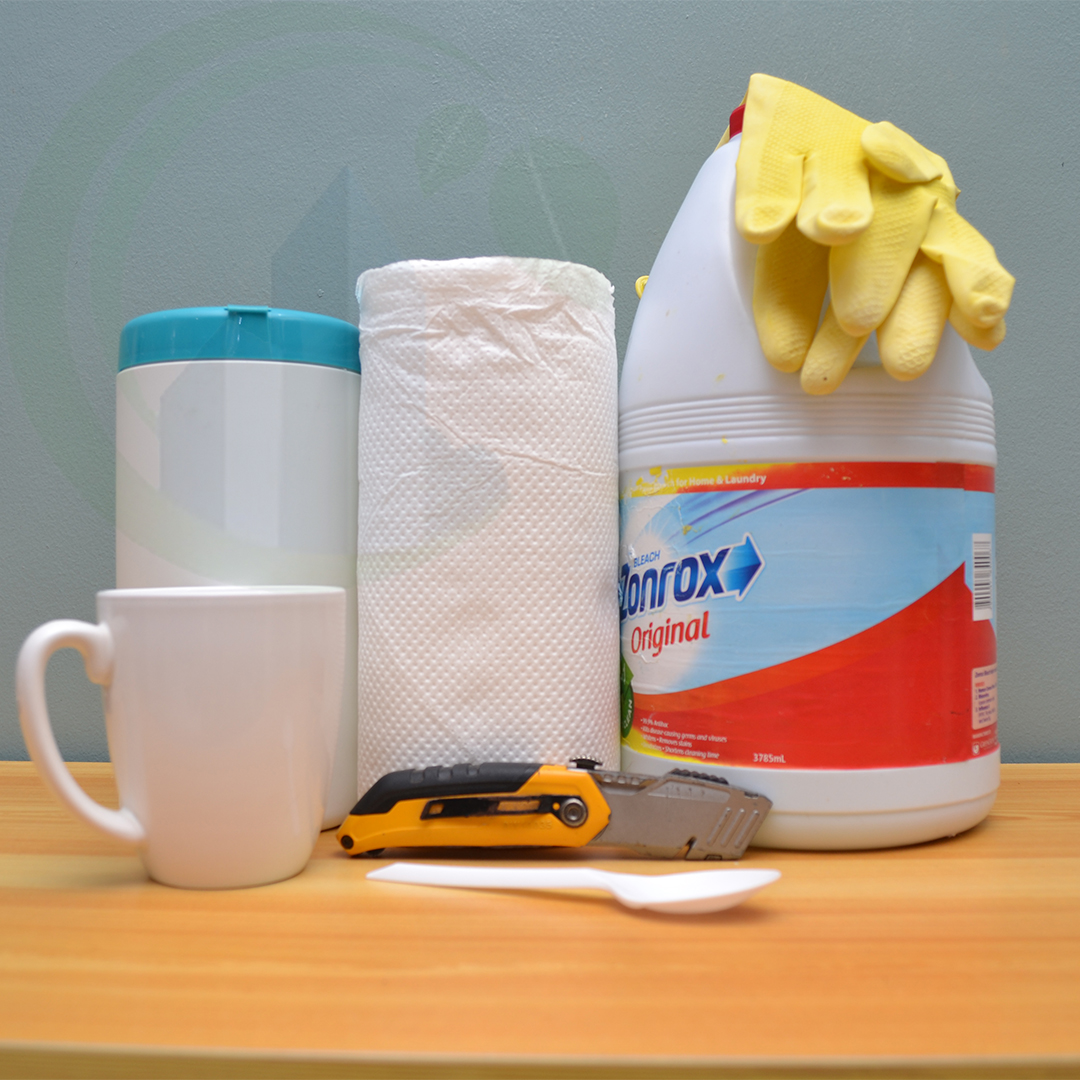
What you need for your DIY: Clorox disinfecting wipes

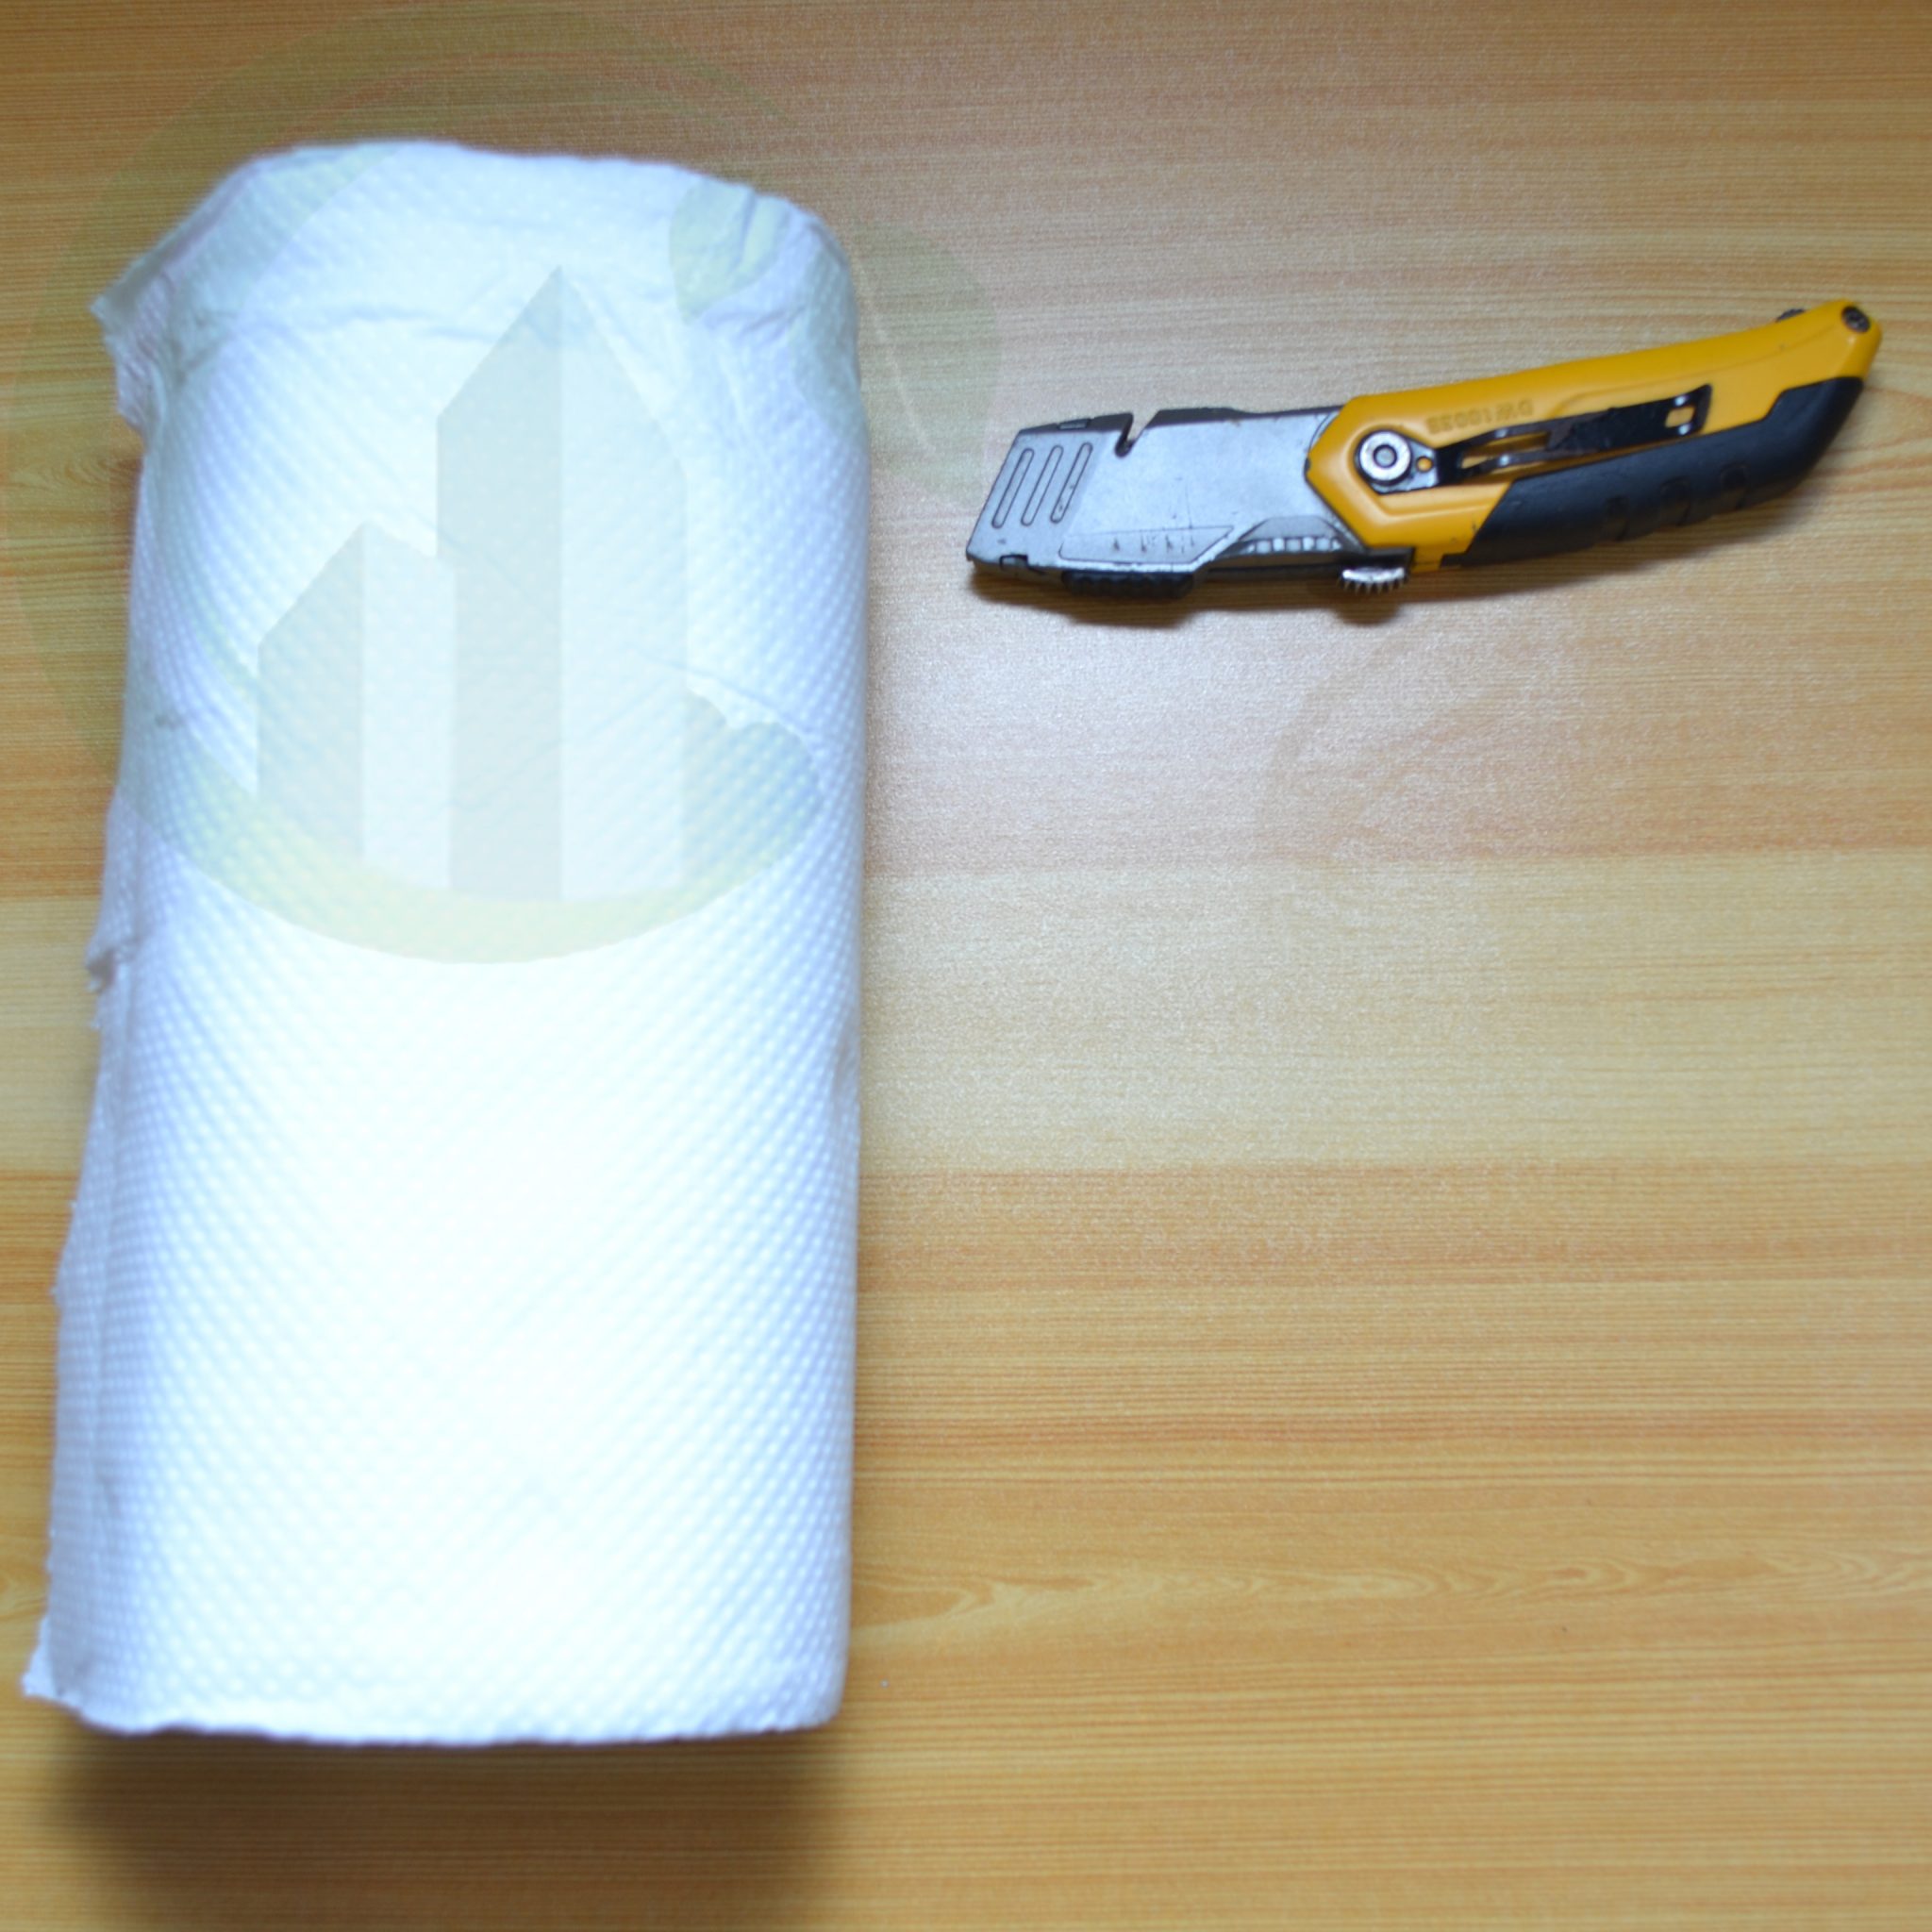
  • Kitchen roll / Tissue roll
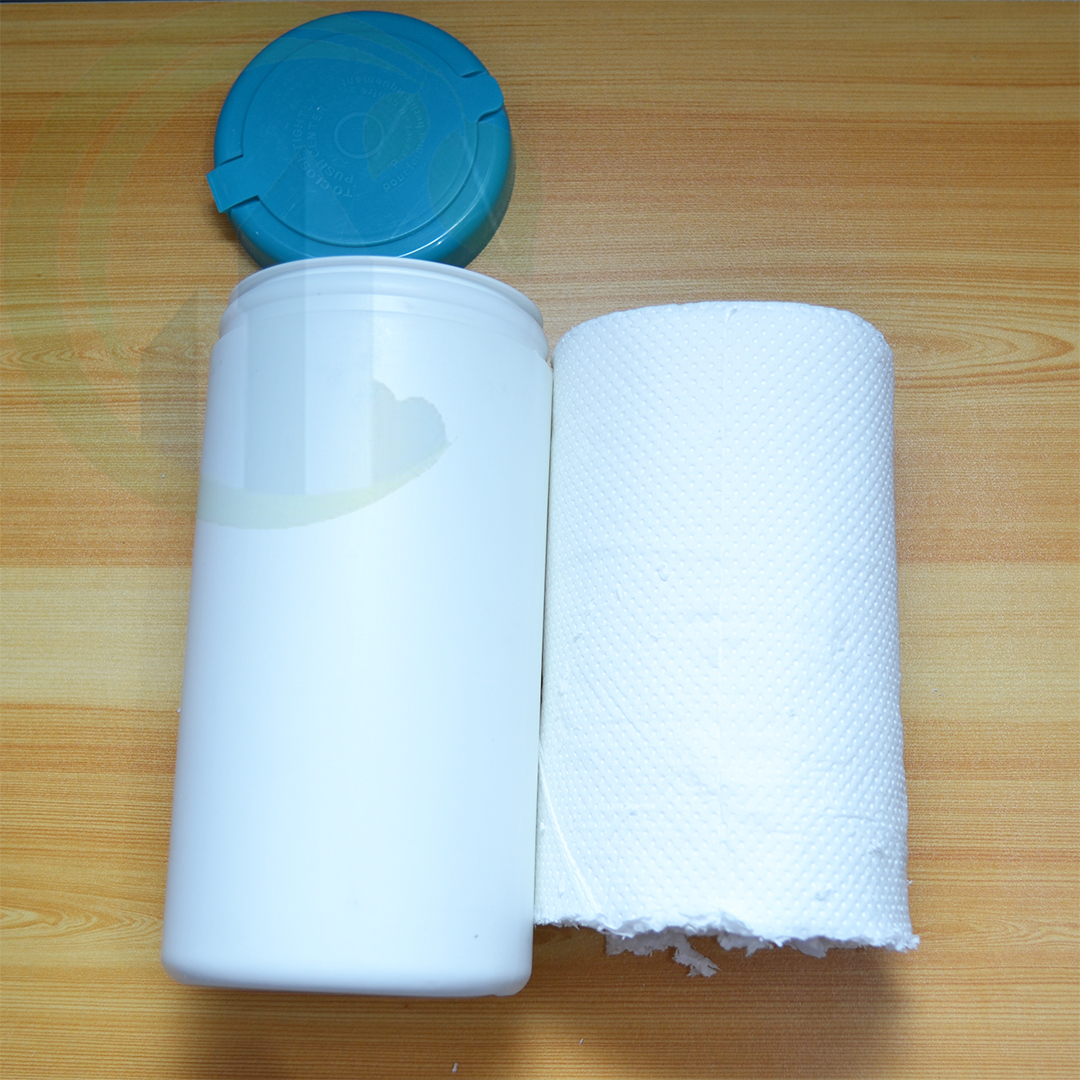
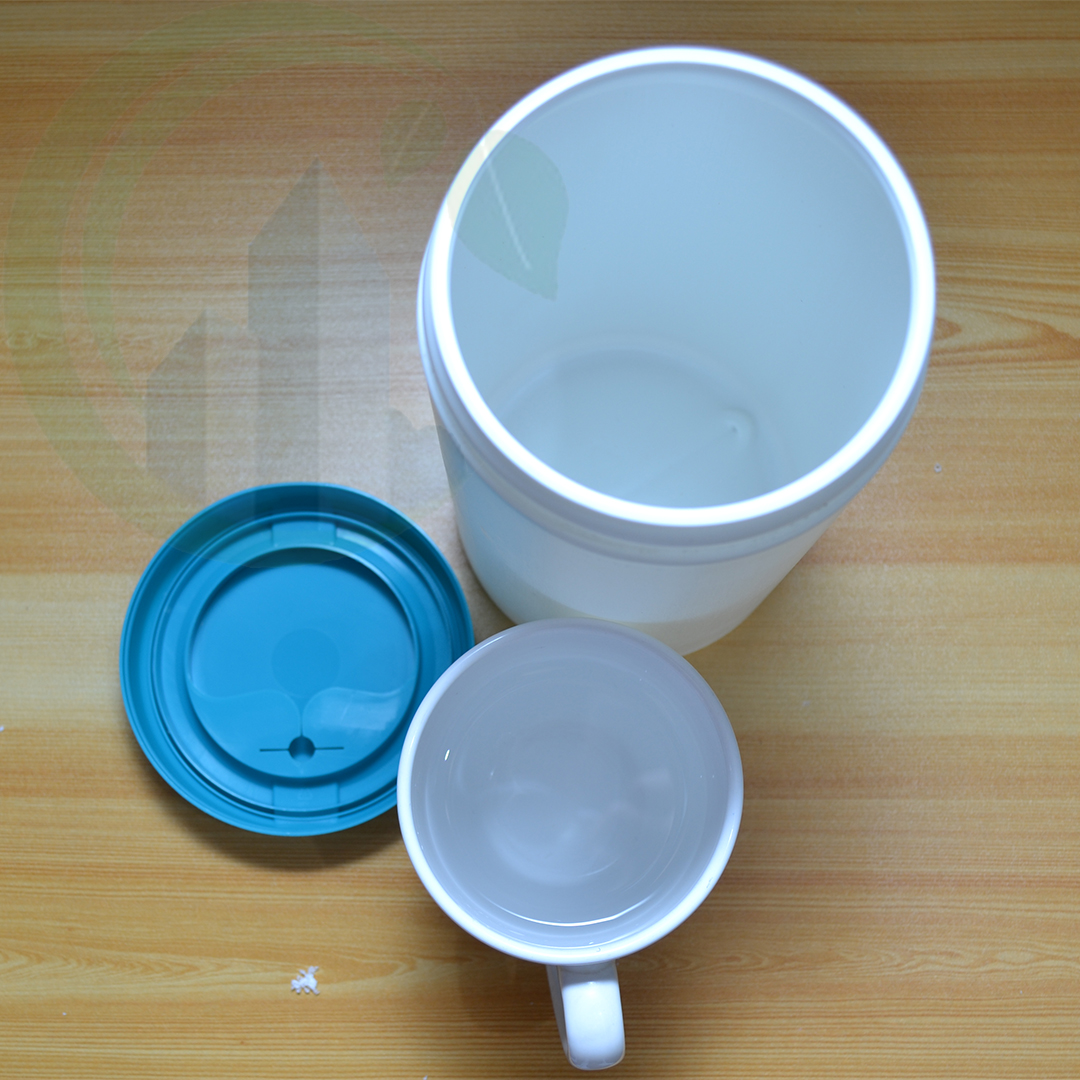
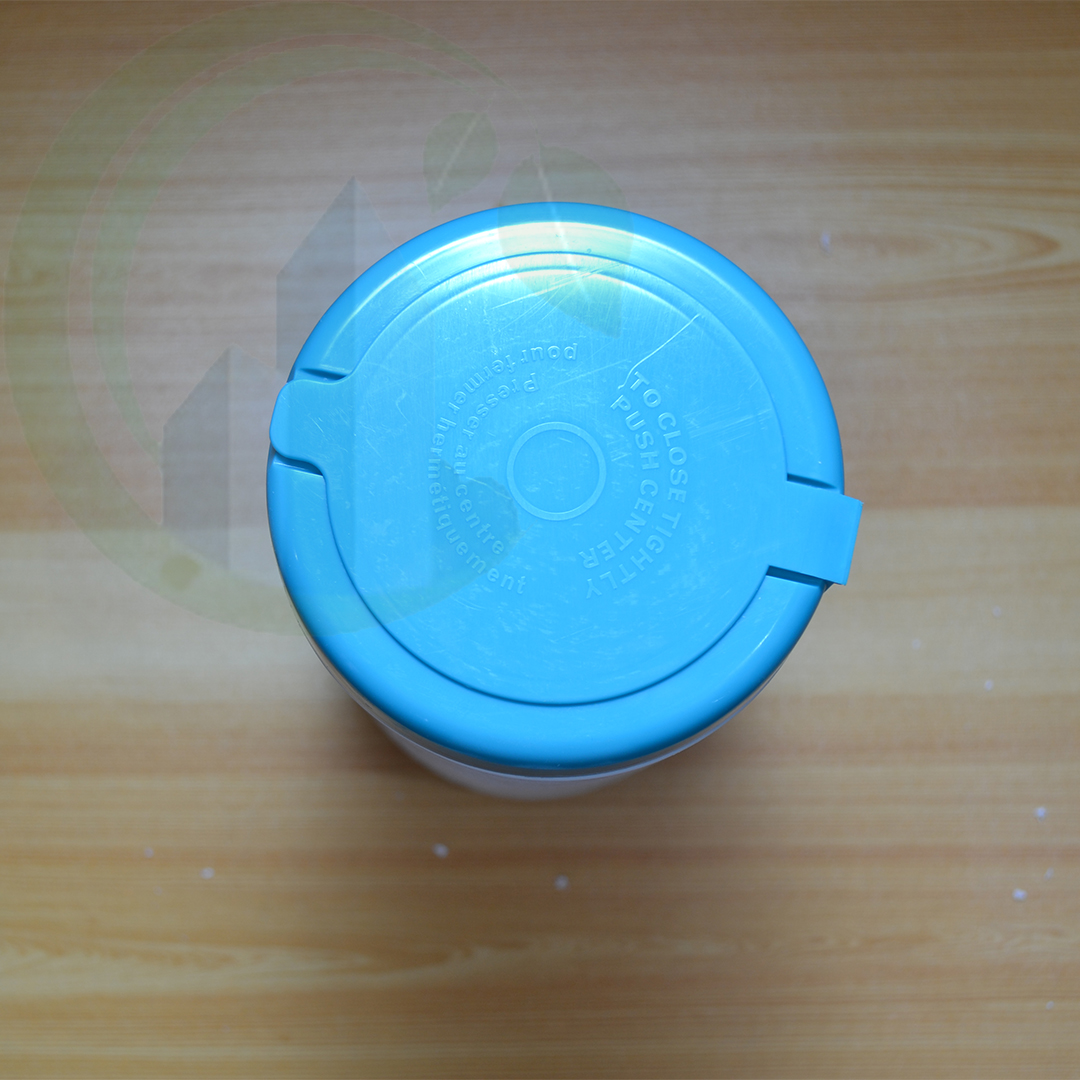
  • Used wipes container or zip lock bag
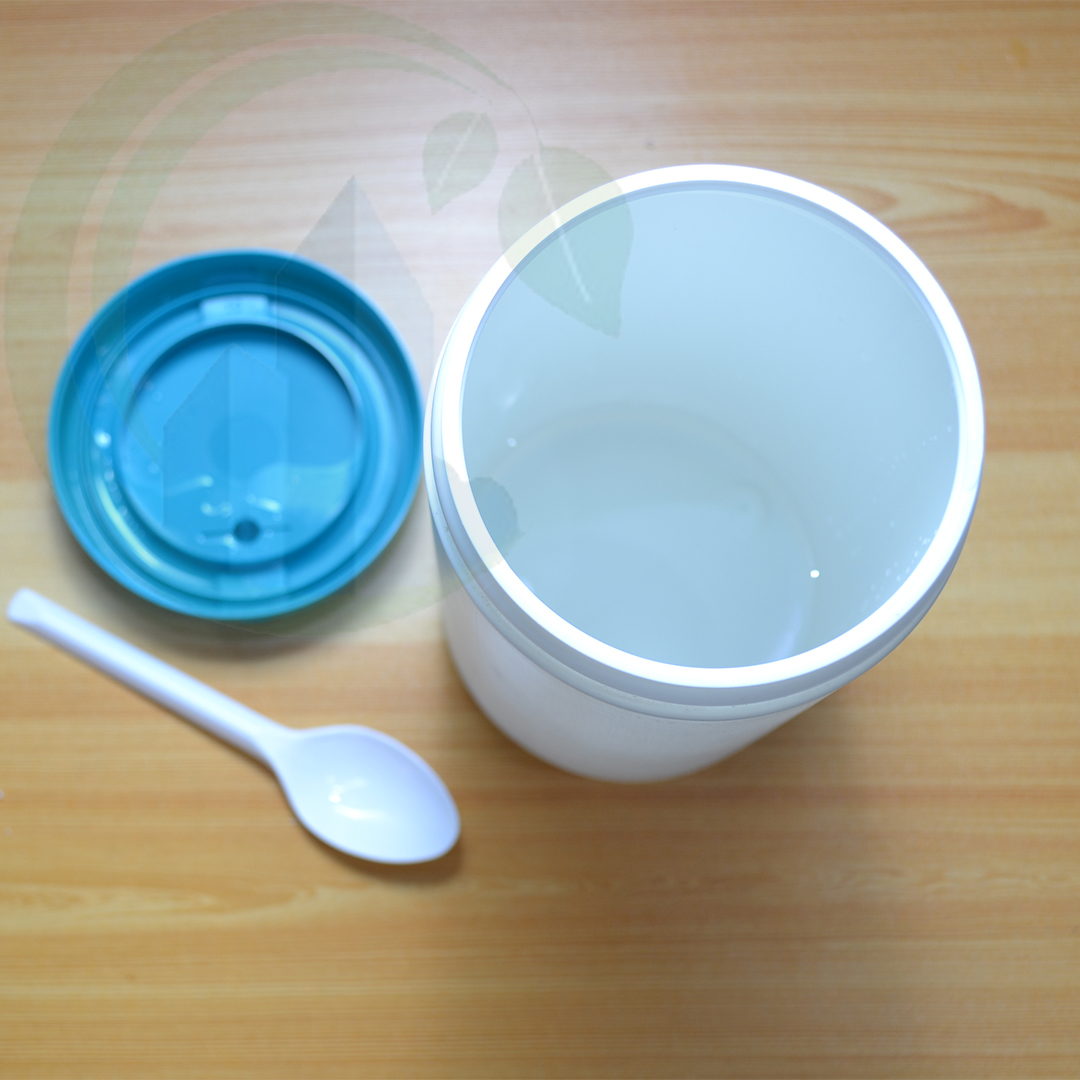
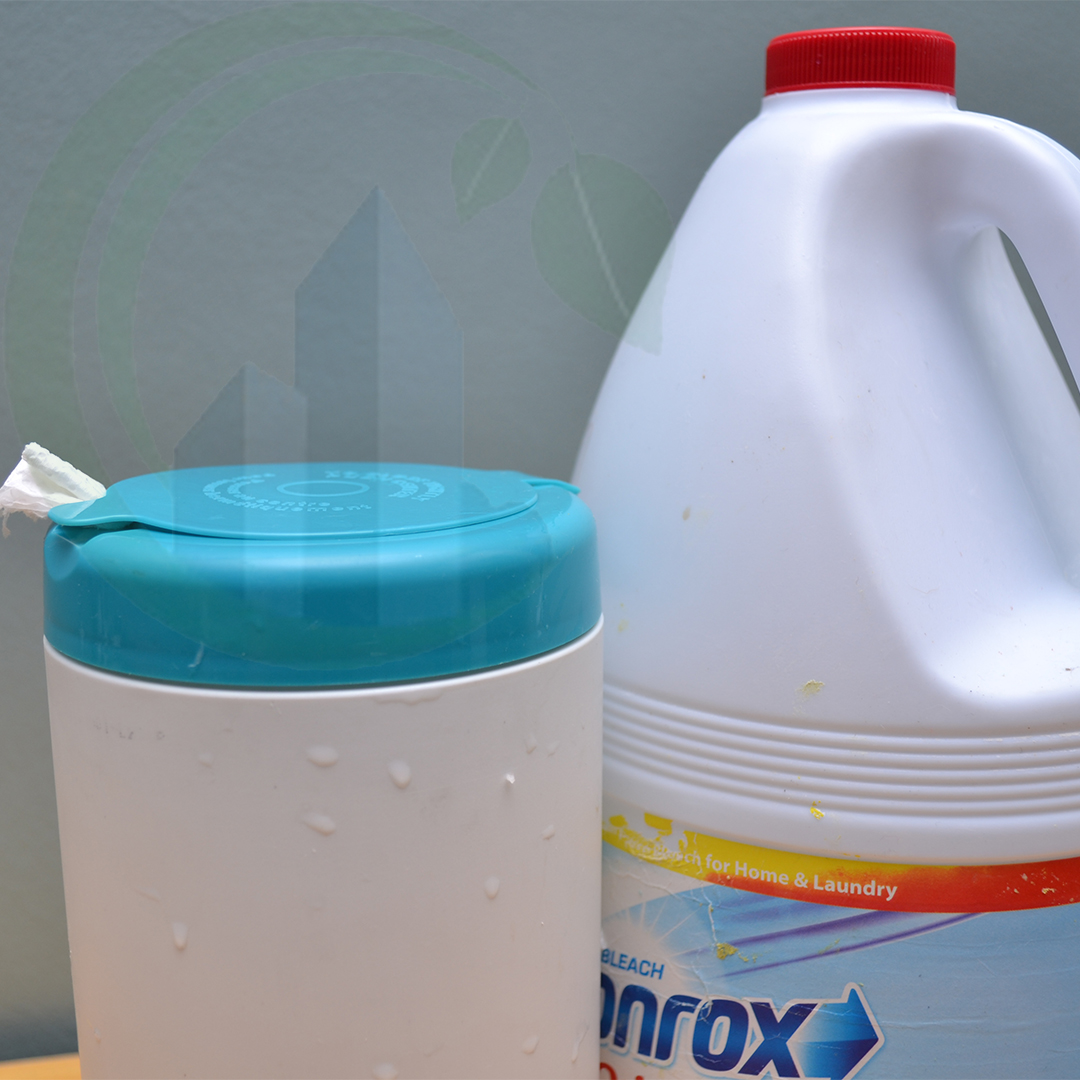
  • 2 Spoonful Clorox bleach
  • Water
  • Cutter/Knife
  • Rubber Gloves
  • (Optional) Fabric conditioner / Essential Oil

Need something cleaned?

Some notes on the materials:

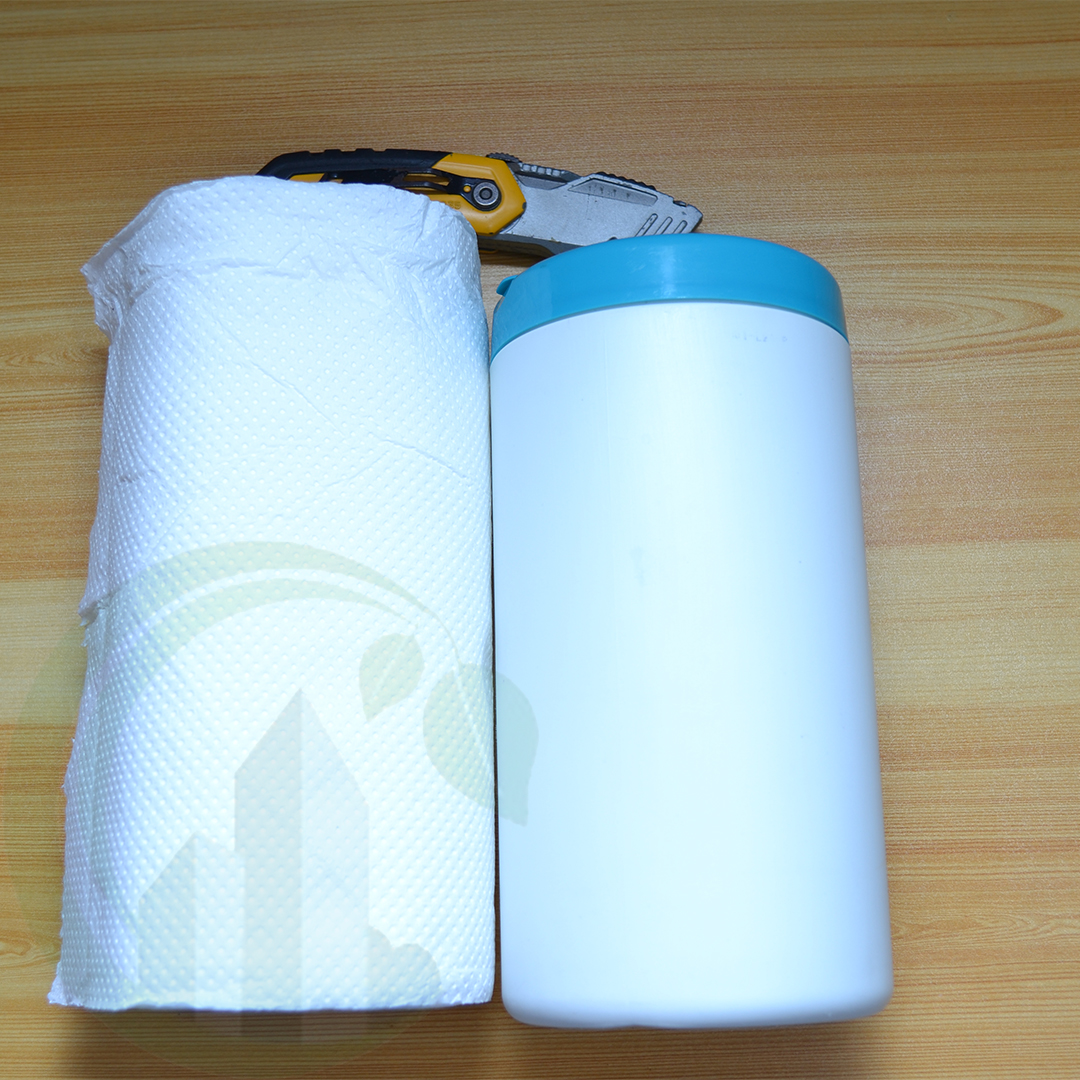
  • Get the kitchen roll tissue paper that is 2-ply or 3-ply because single ply will break easily – we got ours at a local Japan store.
  • If you happen to have thrown away your old wipes tube/container, you can use a zip lock bag instead or any container that can make it air tight. Chlorine diffuses in time and making your DIY: Clorox disinfecting wipes ineffective.
  • Steak knives make cutting tissue rolls easier.
  • If you don’t like the smell of chlorine, add fabric conditioner or essential oils, but never alcohol or alcohol based perfumes.

Step 1

Measure your tissue roll and cut it. Make sure to have half inch allowance at the bottom and and inch allowance at the top. If you are using a regular tissue roll, you can skip this step. After cutting it, do not place it in just yet. Set it aside for a moment.

Step 2

Add water in your container. The volume actually may differ depending on the size of your kitchen towel or tissue roll. You can start off with just a cup and check later if your wipes are just moist enough and not too damp. Too much water will make your wipes break easily.

Step 3

Add 2 spoonful of clorox bleach and a spoonful of your favorite fabric conditioner (or a couple drops of your favorite essential oil). It may seem too much based on recommended dillution, but you are mixing this with water and as we mentioned above, Cholorine diffuses in the air, so your chlorine cocktail will not be as potent as it was, a week from now.

Step 4

Mix all liquid evenly inside your container. This will ensure that the chlorine and scents will be distributed evenly throughout the kitchen roll when you place it in.

Step 5

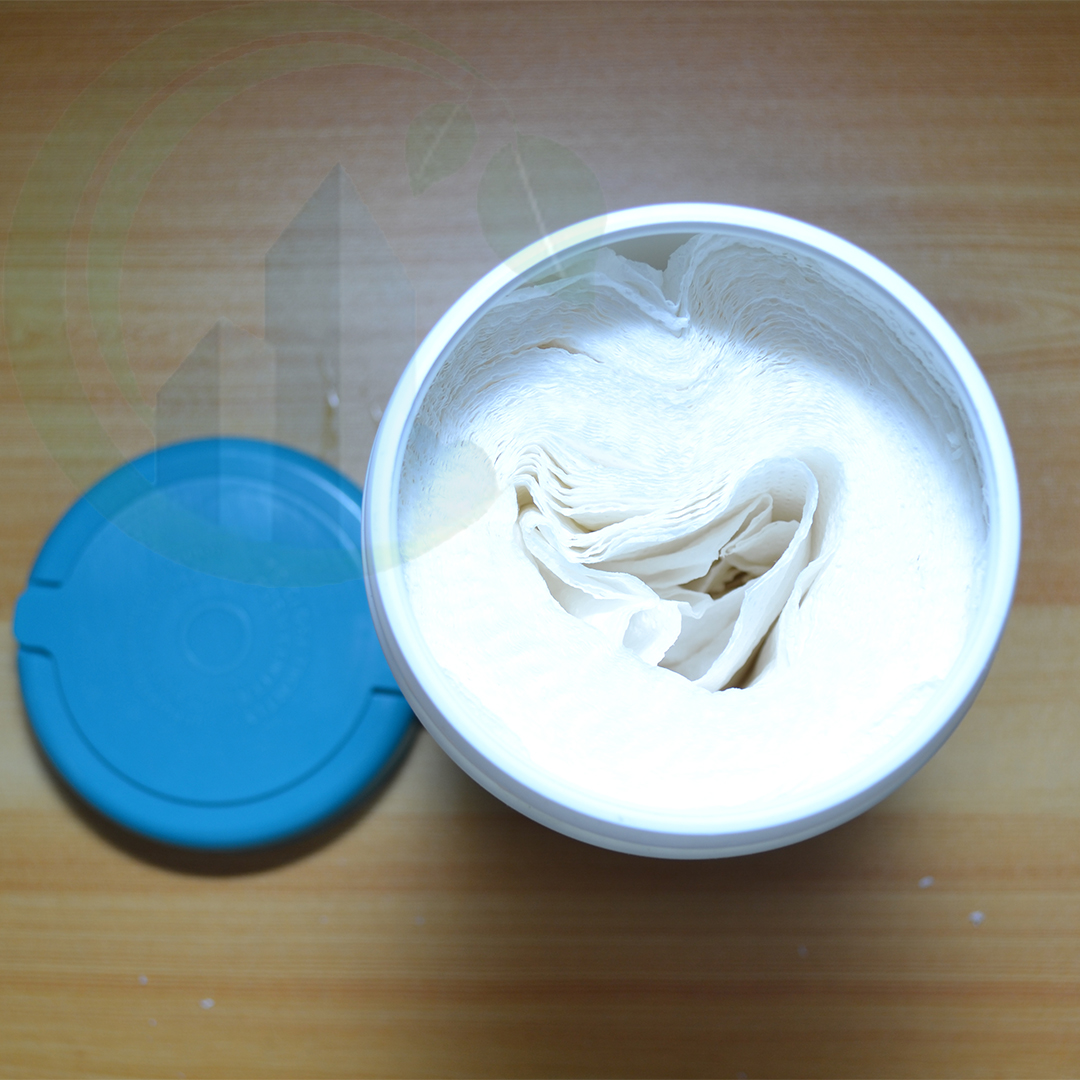
Place the kitchen roll inside the container and cover it. Let it sit and absorb the mixture. This may take some time (5-10 minutes) depending on how much tissue you placed inside.

Step 6

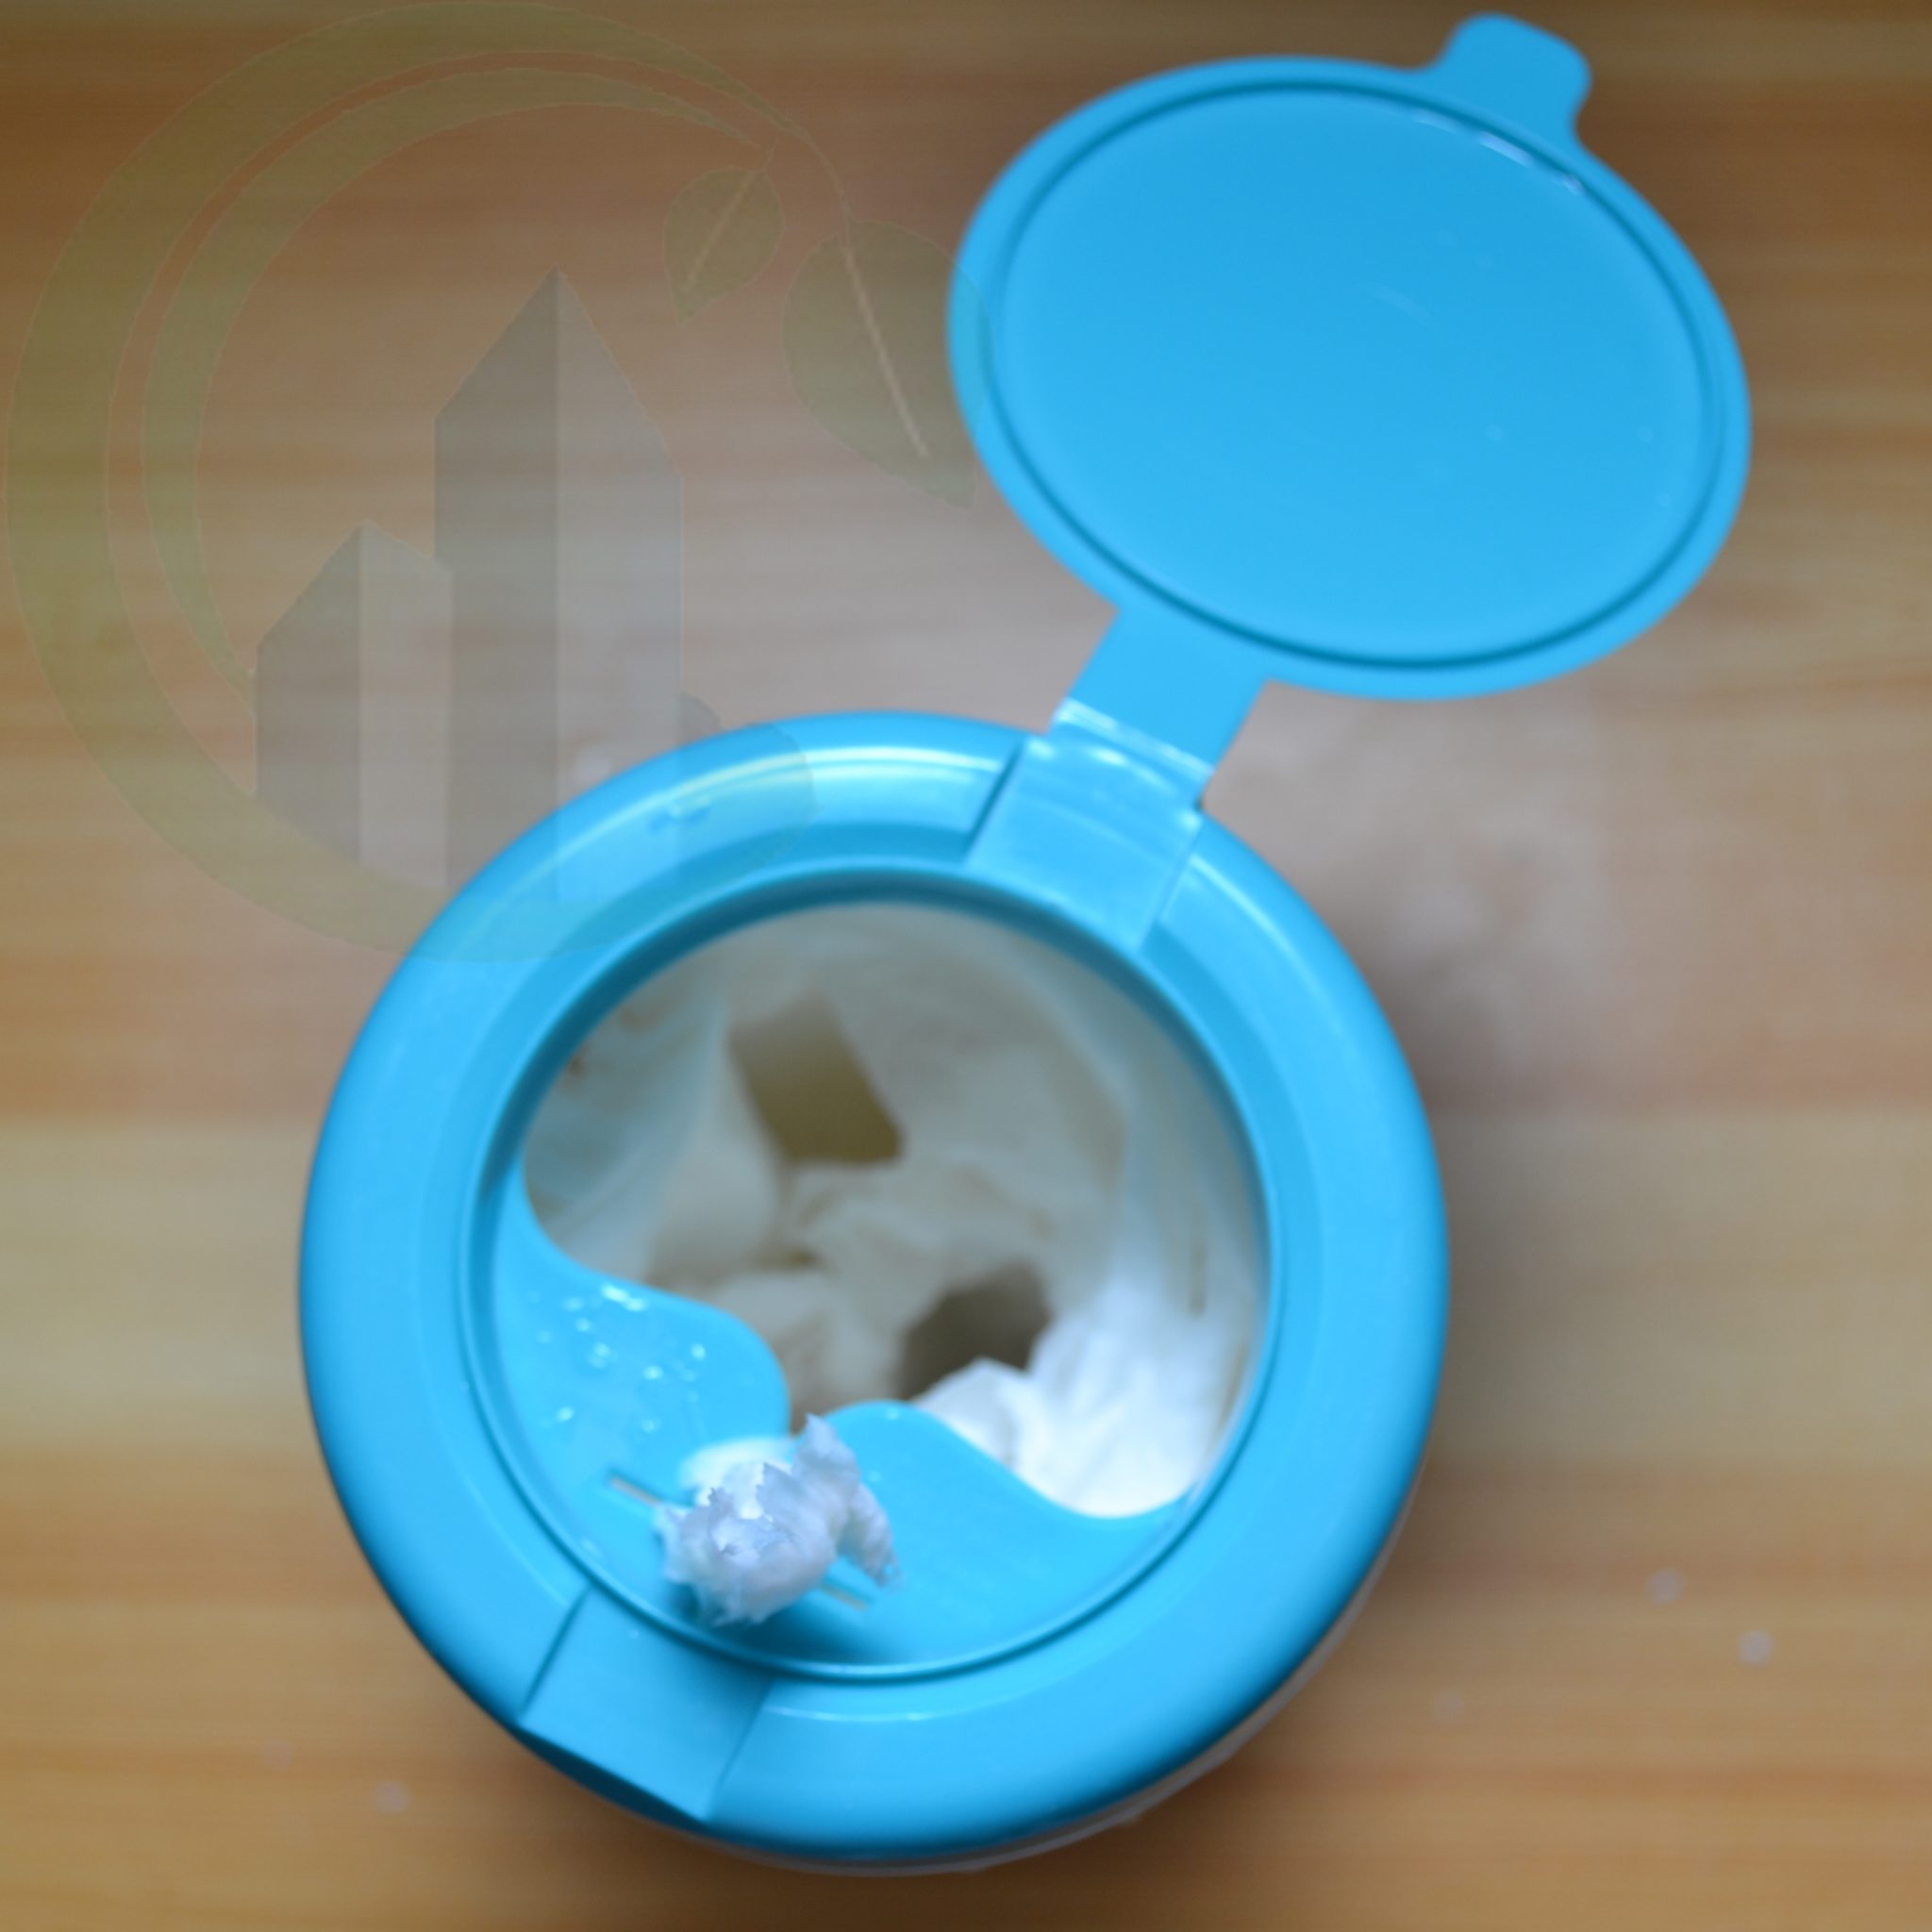
After checking if your wipes are already moist up to the top, remove the spine or cardboard in the middle of the roll. The moisture will help loosen it and even give you the tongue of your wipes (piece of tissue that will help you pull wipes in the future). You can leave it be if you are using a ziplock bag.

Step 7

You now have your DIY: Clorox Disinfecting Wipes ready to use. Make sure to keep it covered and air tight, keep it in a cool, dry space and away from sunlight.

Bonus! Best uses of Clorox wipes

1. Removing grimes and tile stains fast – use a couple of wipes and place it over hard to remove grimes and stains in your bathroom tiles and let it sit for 10-15 minutes. Remove and brush lightly.

2. Polishing bathroom fixtures and kitchen faucets – place a couple of wipes over fixtures, faucets, kitchen sink drains and let it sit for 10-15 minutes. Remove, scrub with sponge a little and rinse.

3. Restore chopping board – spread a clorox wipe on the chopping board, let it sit for 10-15 minutes. Scrub a little and rinse.

4. Make cut flowers last longer in a vase – wrap clorox wipes at the end of the stems of your flowers, place them in the vase and add water. This will prevent grime from forming at the bottom. No need to change water daily and keeps your flowers fresh longer.

Do you want to learn more on how CMDA Cleaning Services can help you, your family, or your office fight against COVID-19? Send us an email at inquiry@cmdacleaning.com, or call/text us on any number mentioned above.

Let’s all be well and healthy, wear a face mask, wash our hands frequently, maintain a 1-2 meter physical distance to non-family members, and stay at home if we can. Stay covid-free!
Electrostatic Disinfection: Global Trend in Disinfection and Fighting COVID-19

Electrostatic Disinfection: Global Trend in Disinfection and Fighting COVID-19

Companies and organizations across the globe are shifting from regular spray disinfection to Electrostatic Disinfection. You can see this trend from Google’s search trend, increasing demand in purchase of the electrostatic disinfection machines, and increasing demand of the process in home and office spaces. A cleaning service company in Canada is bombarded with this service request since the start of the pandemic, this is the method of choice for schools in South Carolina, USA, even the Airlines and hotels implement ‘electrostatic spraying’ to fight the coronovirus. So why do top companies now prefer this more than the regular spray disinfection? Is there any difference between this process and the rest?

Need something cleaned?

What is Electrostatic Disinfection?

This is a disinfection process using a machine that sprays disinfectant in microdroplet form (fine mist) that are also statically charged. This would mean that the disinfectant will stick on anything, like viruses, including surfaces. The droplets are so fine and the process is very fast that people can breath in already even just minutes after the application. 

The electrostatic charge is so strong that it will look for other surfaces near it that are not yet covered. Manufacturers claim that the particles are charged for up to 30 days, but even if it would just last for a 2 weeks, it would mean that the disinfectant can continue to kill the coronavirus dropping on surfaces longer.

One of the great feature of the machine is that the user can fill in any disinfectant, but of course the manufacturer recommend using disinfectant solutions that are approved by agencies like FDA, CDC and WHO, and has a worldclass track record of killing viruses like Quaternary Ammonium Chlorides.

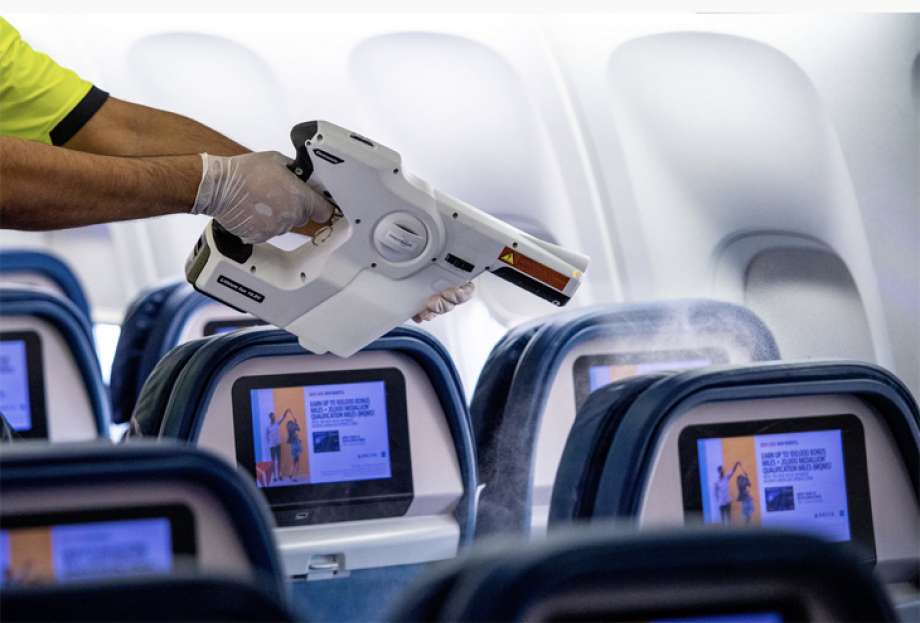
Delta Airlines staff disinfecting the cabin using a handheld electrostatic sprayer – photo from Delta Airlines / sfgate.com

Why Electrostatic Disinfection?

One of the main features of electrostatic disinfection is coverage. It can cover a wider areas and hard to reach areas thanks to the charge. Gravity nor surface shape does not dictate where the disinfectant will land, so this ensures that there are no surface missed. When you want to disinfect an area, you want to make sure that your disinfectant covers all surfaces, and this could prove quite difficult if the liquid is colorless upon application.

Another feature is called “ultra low volume” dispersion. This allows the dispersal of the disinfectant without making the surface “too wet” which could be a cause for short circuit of appliances or damage to paintings and furniture. There are already other non-electrostatic devices that utilizes this feature.

“Basically, when you want to disinfect an area, you would want to ensure that the disinfectant kills the virus, and there are still enough disinfectant in the surface to kill potential viruses that might drop. You are protecting not just the people but also the assets.”

In the Philippines, only a handful offers Electrostatic Disinfection, and we, CMDA Cleaning Services, are one of the few that offers this type of disinfection service. We also offer pat down, fogging (bac2zero), UVC sterilization and wet disinfection but we always recommend that more and more people use electrostatic disinfection to utilize its benefits.

Do you want to learn more on how CMDA Cleaning Services can help you, your family, or your office fight against COVID-19? Send us an email at inquiry@cmdacleaning.com, or call/text us on any number mentioned above.

Let’s all be well and healthy, wear a face mask, wash our hands frequently, maintain a 1-2 meter physical distance to non-family members, and stay at home if we can. Stay covid-free!
Best Way to Clean a Bar of Soap that Fell in the Toilet Bowl

Best Way to Clean a Bar of Soap that Fell in the Toilet Bowl

If you have come to a certain point in your life (or just a dilemma) that you need to know how to clean a bar of soap that fell in toilet bowl just to save that bar of soap, then you are currently in the right place (page). We’re here to help you and not judge you why you are saving that bar of soap, or how you dropped it in the toilet.

Let’s start off with what you need:

  1. Rubber gloves (the ones you use for laundry or home cleaning)
  2. Liquid soap/detergent
  3. Water

Retrieving the bar of soap

First off, hope and pray that you have flushed the toilet before the soap fell. If there are remnants of urine (or worse, fecal matter) in the bowl, then things will get a bit more gross than you think it is. If your luck struck out and the soap fell when there are still biological matter in there, do not flush. Wear your rubber gloves and make sure it is long enough that no part of your uncovered arm will touch the water in the toilet bowl. Get the bar of soap and immediately rinse it with water.

Need something cleaned?

Toilet Bowl Cleaning

Imagine dropping a bar of soap in a toilet bowl like this… gross!

Cleaning the bar of soap that fell in the toilet

After rinsing it, add a drop of liquid detergent or soap and lather it like you’re washing your hands (with the rubber gloves on). Rinse and store in a dry container or soap dish, and that’s it!

If you are not compelled that it is already thoroughly cleaned, bear in mind that you use soap to clean your body (yes, the soap itself is a cleansing agent). Soaps are made of a combination of surfactants, fats and oil, and alkaline chemicals, mixed thoroughly so you get the cleaning effect from the moment you opened the box of soap up to the last few grams of it. Surfactants help separate solid materials from surfaces, be it your skin, on clothes or even on the soap itself (granting there is water – hence the use of liquid detergent or soap). With the help of friction during the time that you lathered the soap in your rubber gloves, you were able to remove at least a millimeter of thickness of the soap and have removed all possible particles or micro-organism stuck on its’ surface.


Antibacterial Soaps

If you happen to dropped an antibacterial soap, then you can have more peace of mind after rinsing it. Antibacterial soaps like Safeguard contains an antibiotic and antifungal chemical named Triclosan. It is widely used as a preservative and antimicrobial agent in personal care products such as soaps, skin creams, toothpaste and deodorants. It may have killed more organisms during its time in the bowl than the time you have rinsed it, so you could be sure that, as long as you have removed the film around the soap after the drop, then you can re-use the soap already.


Letting it all go? Newsflash: DON’T!

If you have decided that you don’t want to go through this “messy” ordeal and thought of just letting the soap go – do not flush the toilet! Depending on the size of soap, there is a chance it will clog your toilet, and may make things messier. Using your rubber gloves, retrieve the soap and throw it straight into your trash bin (together with the gloves if you want to). This way, you are sure your drain pipes will not be congested.

Do you want to learn more on how CMDA Cleaning Services can help you, your family, or your office fight against COVID-19? Send us an email at inquiry@cmdacleaning.com, or call/text us on any number mentioned above.

Let’s all be well and healthy, wear a face mask, wash our hands frequently, maintain a 1-2 meter physical distance to non-family members, and stay at home if we can. Stay covid-free!